Second Post in A Picasa Tutorial on How to Make a Video
The first thing you will need to do is get Google’s Picasa – it is a free photo program that works well with any type of picture not just photos.
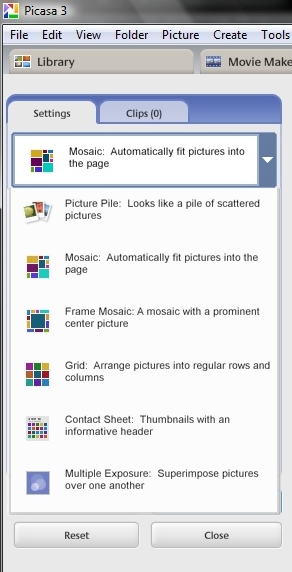
You can easily load photographs from your camera to Picasa or import saved files to view. My favorite part of acquiring photos from my camera using Picasa is that you are given the option to erase from your camera all the photos you are putting on you computer. This saves me time having to delete photos from my camera. There is an area where you can make collages and is one of the things I do for parts of my photo videos. You can make a mosaic, a picture pile, a framed mosaic, a grid or a contact sheet, so your options are pretty good.
~~~~~~~~~~~~~~~~~~~~~~~~
The second option in collage when using Picasa.
Picture Pile – it makes your photos or images look like a scattered pile of pictures
Just like with the mosaic you have a host of neat options to choose from to make it look exactly like you want.
Below is the menu for Picture Pile under Collage in Picasa. Using the different options you have the ability to do a whole host of great things to make a fine-looking image.
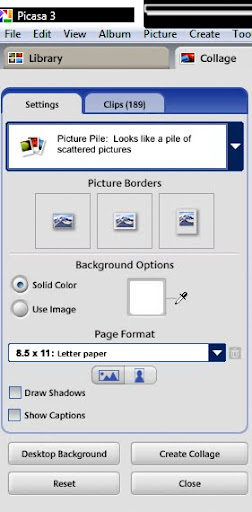
I am using many of the same photos as I did in part 1. You will use the photos you saved in part 1A
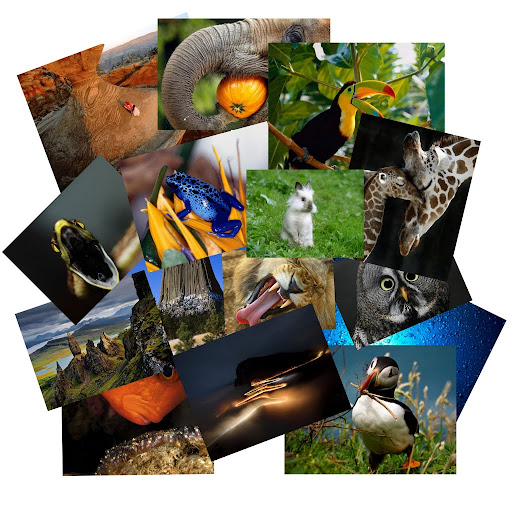
- select the picture borders – I have it set at none or just a picture without a border.
- select background option – I have chosen white.
- set the page format to what you now need – in this case it is 8.5 x 11
- you can also set how you want you page to lie – landscape or portrait – this is landscape
The Draw Shadows and Show Captions will be discussed at a later time and the last four buttons are what you choose after you have completed your work.
Important to know – once you save the collage you are always able to edit it. 🙂
There is also an option to custom set the page size to whatever you like. I am not sure of what size will be best for a video presentation because I never actually thought about it. My best guest is that they should be square.
If you look at my video you will see that the black is not solid in some of the frames and I am not sure if I had the background set at a dark gray or it is because the size of the images were not square. I will let you know at a later date my findings about the sizes.
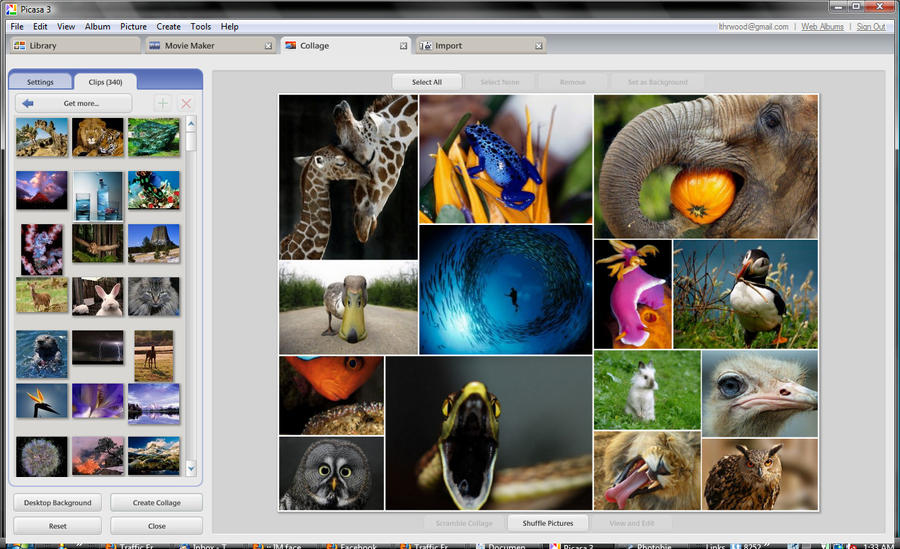
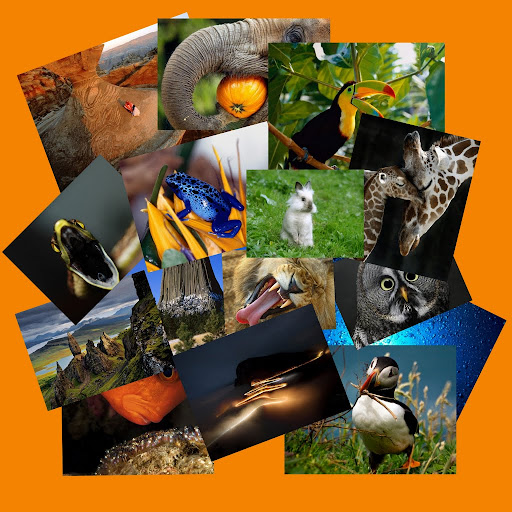
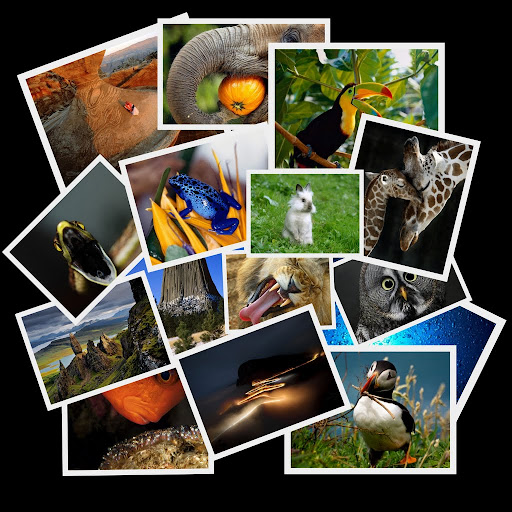
The following image has only one change and that is the background color. You can choose from colors on the graph or use the dropper to choose a color from the photos on the collage. In this case the color was taken from the pumpkin in the elephants mouth.
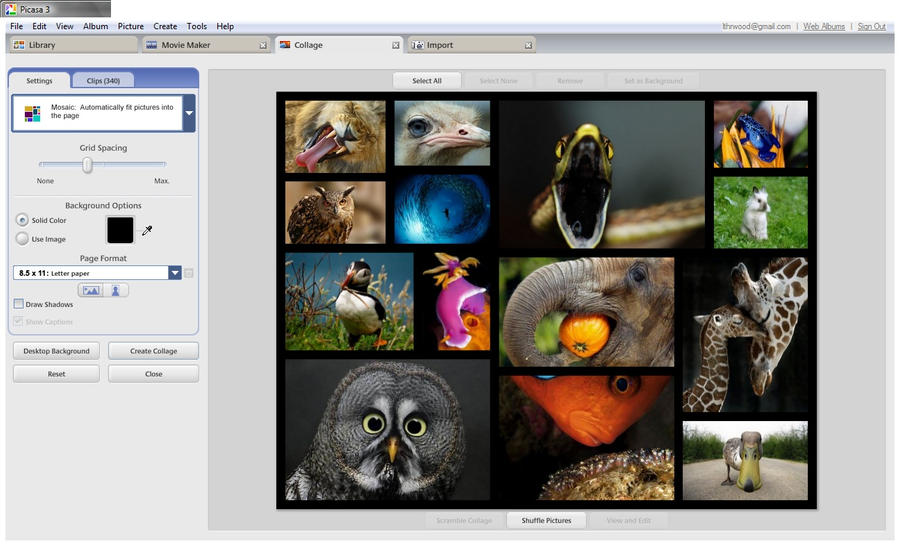
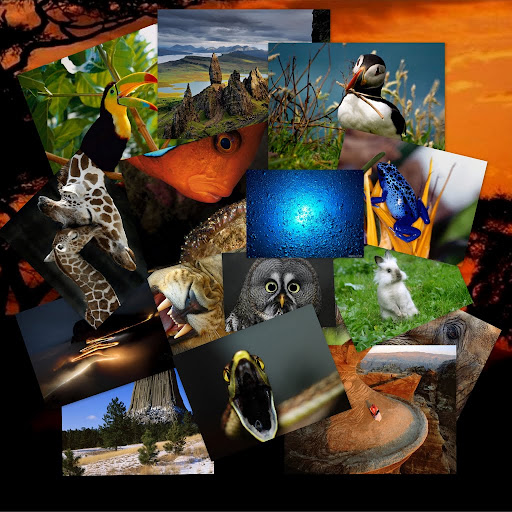
Changes in the next image include
- select the picture borders – I have it set at none
- select background option – I have chosen picture – you can select anyone of the photos to use as your background
- set the page format to what you now need – in this case it is 8.5 x 11
- you can also set how you want you page to lie – landscape or portrait
- Drop Shadow is set
- I have shuffled the pictures

In the next image, note you can not see the photo used for the background that is because after setting it for the background I moved it to the back of the pile. In order to be used as a background it has to be in the collage so you have to bury it under the pile and if it still shows use the manual features to make it as small as needed.
I just figured this out, if you want to resize, angle or re-position all the photos at one time select all and the too appears on top of the photos to do any or all of these..
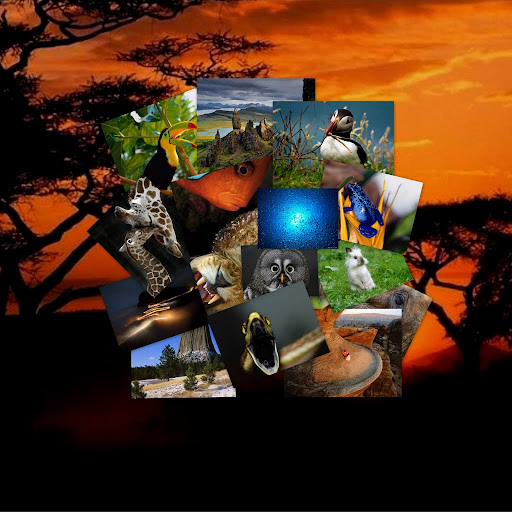
Changes in the next image include
- select the picture borders – I have it set at plain white border
- select background option – I have chosen black
- set the page format to what you now need – in this case it is 8.5 x 11
- you can also set how you want you page to lie – landscape or portrait
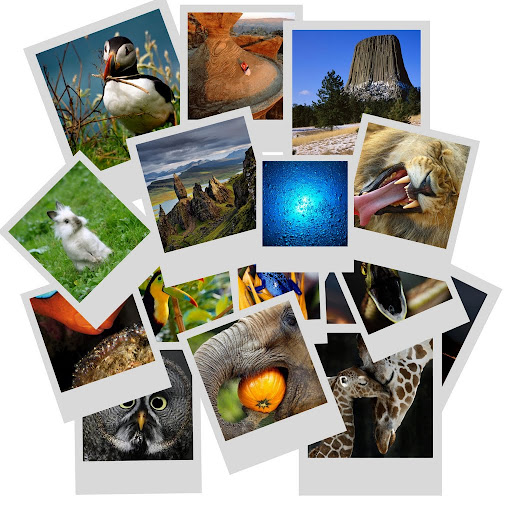
Changes in the next image include
- select the picture borders – I have it set at instant camera
- select background option – I have chosen white
- set the page format to what you now need – in this case it is 8.5 x 11
- you can also set how you want you page to lie – landscape or portrait
I also scrambled the collage and shuffled the pictures. You can also change the position, size and angle of each photo manually. There are excellent and user-friendly tools that can be used by simply clicking on the photo. There is also a drop down menu when you click on an image that allows you to bring the photo to the front of the pile or to the back. This way if you like where a photo is but it is covered by part of another one you can just bring it to the front. This is very easy to do but beware, once you start doing it you may find that you are a perfectionist. Before you know it you have been up all night … 🙂
When you are satisfied with your creation just click on ‘create colloge’ and it will be saved into your Picasa library. You can also click on ‘desktoop background’ to make it your newest desktop image.
I will discuss the other parts of the collage maker next in our adventure on how to make or set up free videos.
Enjoy getting used to the program.