Download it at http://picasa.google.com/intl/en/
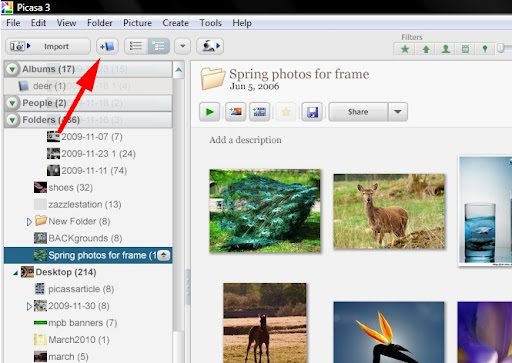
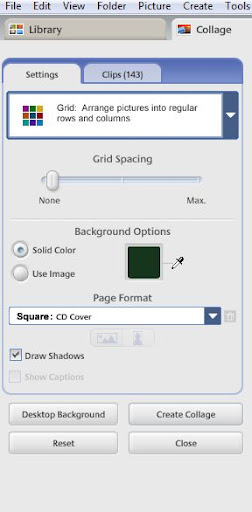
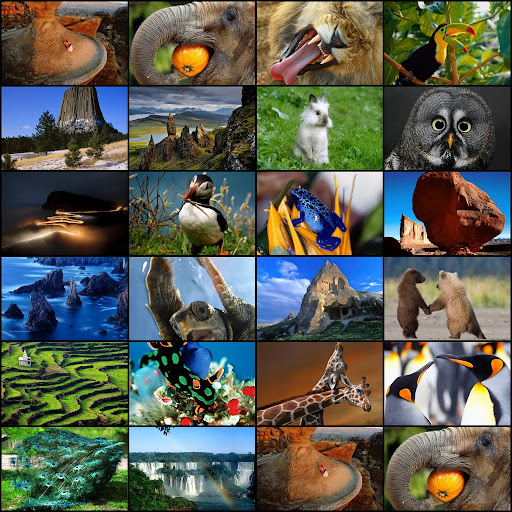
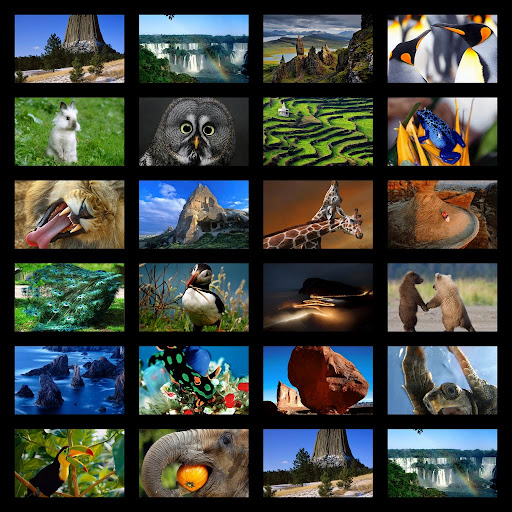
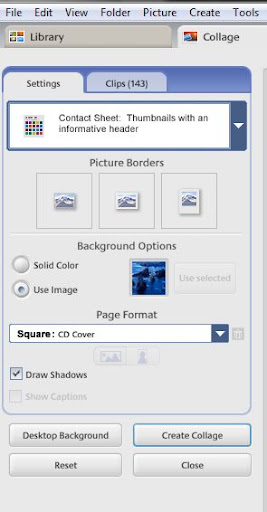
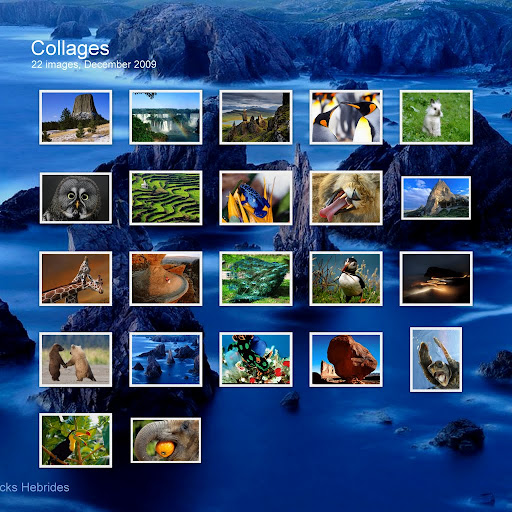
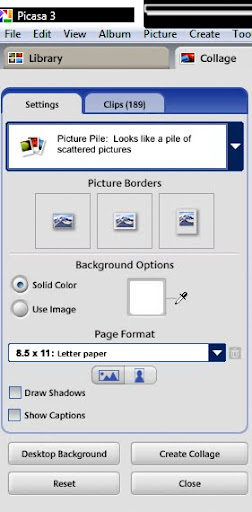
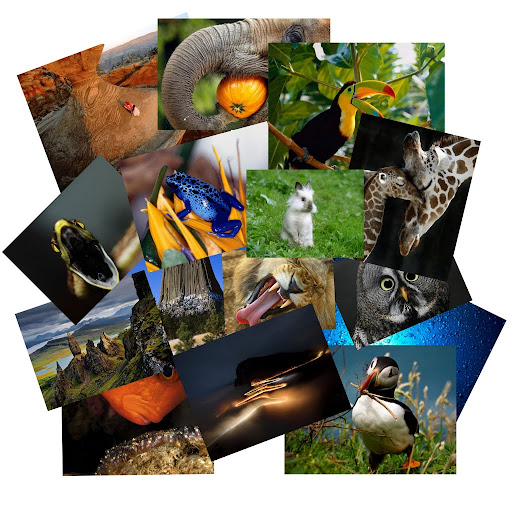
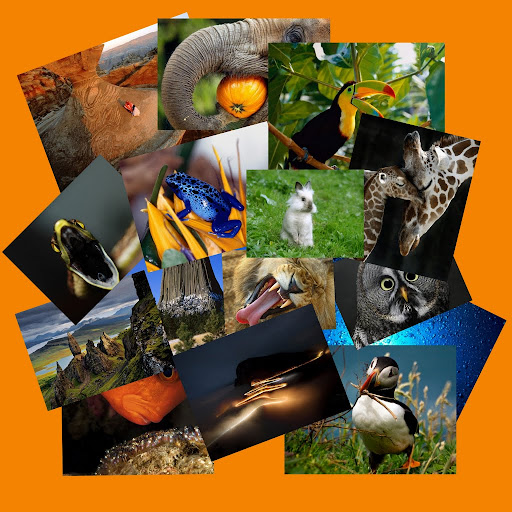
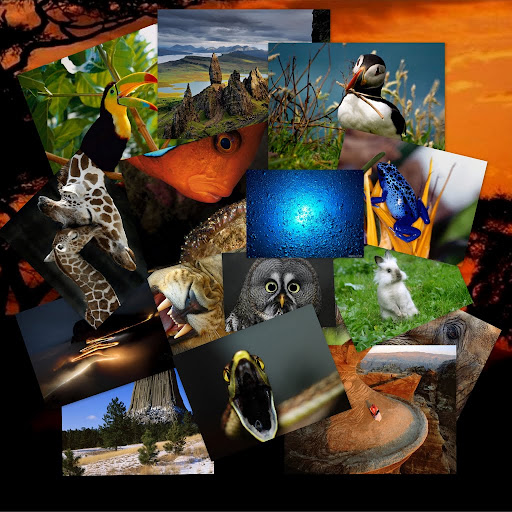
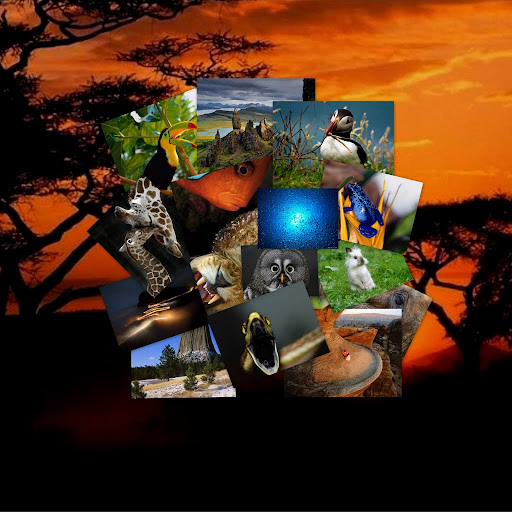
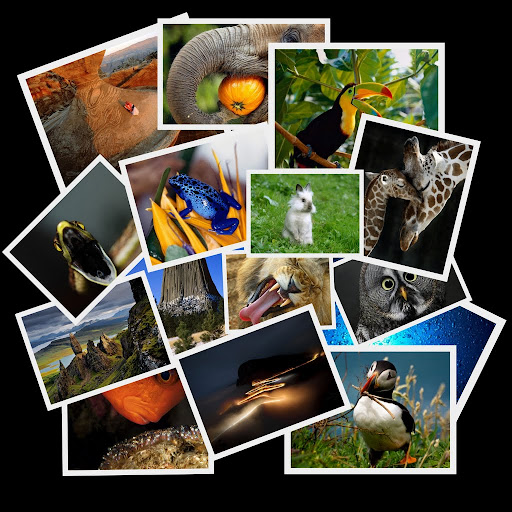
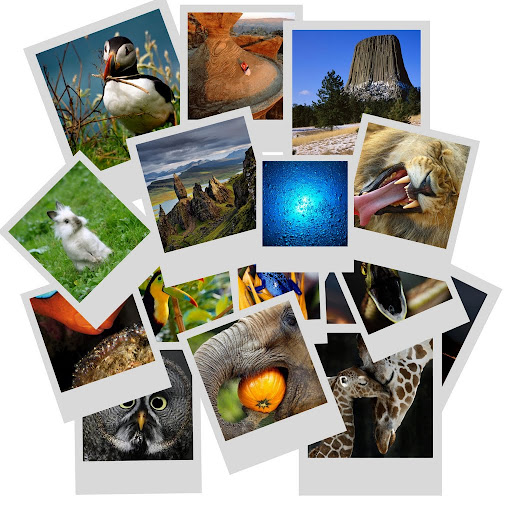
You can easily load photographs from your camera to Picasa or import saved files to view. My favorite part of acquiring photos from my camera is that Picasa gives you the option to erase from your camera all the photos you are putting on you computer. This saves me time having to delete photos from my camera. There is an area where you can make collages which is one of the things I do for parts of my photo videos. You can make a mosaic, a picture pile, a framed mosaic, a grid or a contact sheet, so your options are pretty good.
~~~~~~~~~~~~~~~~~~~~~~~~
PART 2b
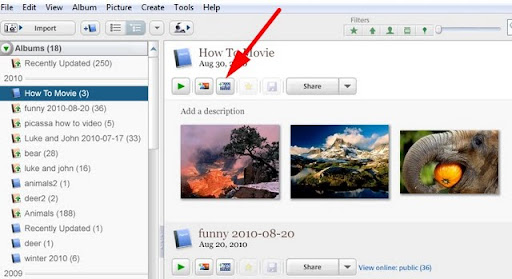
Below is a close up of the ‘Movie Maker‘ menu bar.
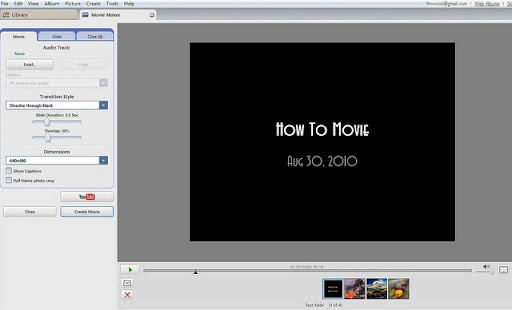
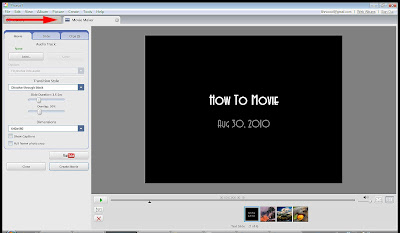
The first option we will use is “slide”. This option will allow you to add a title page and choose how you want it to look. When you click on slide you will see the same image that is currently in your display window. If I do not change my title page it will remain as seen above.
You are currently in Movie Maker
- Now click on slide – #1
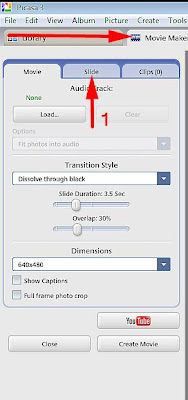
The next image is the ‘Slide’ menu bar. This is where you set up the title and credit pages.
- In the box below template (#1)
type in what you want to use for a title. - Choose your font (#2)
it is best to do this after you type the text in because you can easily see what each font style will look like in your finished page. Once you click on the down arrow a menu shows up. You can see what each font looks like by using the down arrow on your keyboard. - Choose your font size (#3)
This works the same as the font by using the arrow of your keyboard - Choose a background color and text color (#4)
- Finally you want to pick a template (#5)
You have 11 options to choose from including ‘I feel lucky’ which will choose one for you. This is one of the areas that you can experiment with. For the title page I stuck with Centered but a couple others will make a nice title page.
Unlike the font and size options you will have to click on each of these to see a change.
FYI: The third button next to B(bold) I(indent) is automatic outline – this will outline your text

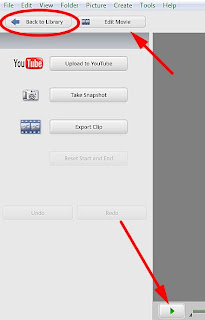
To save your work click on ‘close’ – a window will come up asking if you want to save as a draft. To work on your movie again go to your albums and right click on the image of your draft. Click on ‘View and Edit’ in menu bar that comes up. When your draft opens click on ‘Edit Movie’ at the top of the menu bar at left.
The next area is the ‘Clip’ menu bar where you will find your images and have the ability to add or delete them
When you first open this after making the album all the images in your album will show up where the 5 photos are below. You can add images one at a time by clicking on them / highlighting them like the first one below or highlighting them all.
To highlight more than one click on the first one and then hold down ‘shift’ while clicking on more.
You then just click on the green + (plus) sign to add. If you have a photo you do not want in your selections highlight it and click on the red x to delete.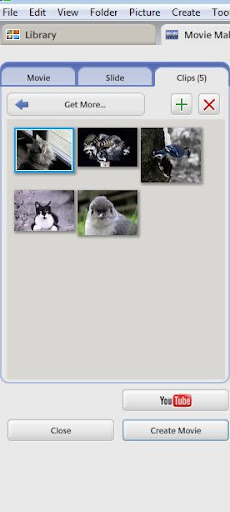
The following image is of your ‘timeline’ – you will find your frames and images here and be able to do the editing. I will go over all the sections and their functions.
- #1 – the green arrow is the play button
- #2 – is to add a new text slide – this will add a blank frame to your time line where you can add text.
Text and styles are done in the same way you made the title page. - #3 – this red X is to delete the frame you are currently on
- #4 – the volume control
- #5 – shows the time as your video runs, this will help when adding audio
- #6 – shows the information about each frame and also shows how many and which you are currently
seeing or editing. - #7 – will allow you to play video in full screen
- #8 – will allow you to show the actual size without stretching

Next I will work on the actual video, adding audio and saving to YouTube.
If you have any questions or want to see something not shown here just let me know.
Marisa Horn
a/k/a kashmier
Youtube videos done with Picasa and windows movie maker
http://www.youtube.com/user/lthrwood